
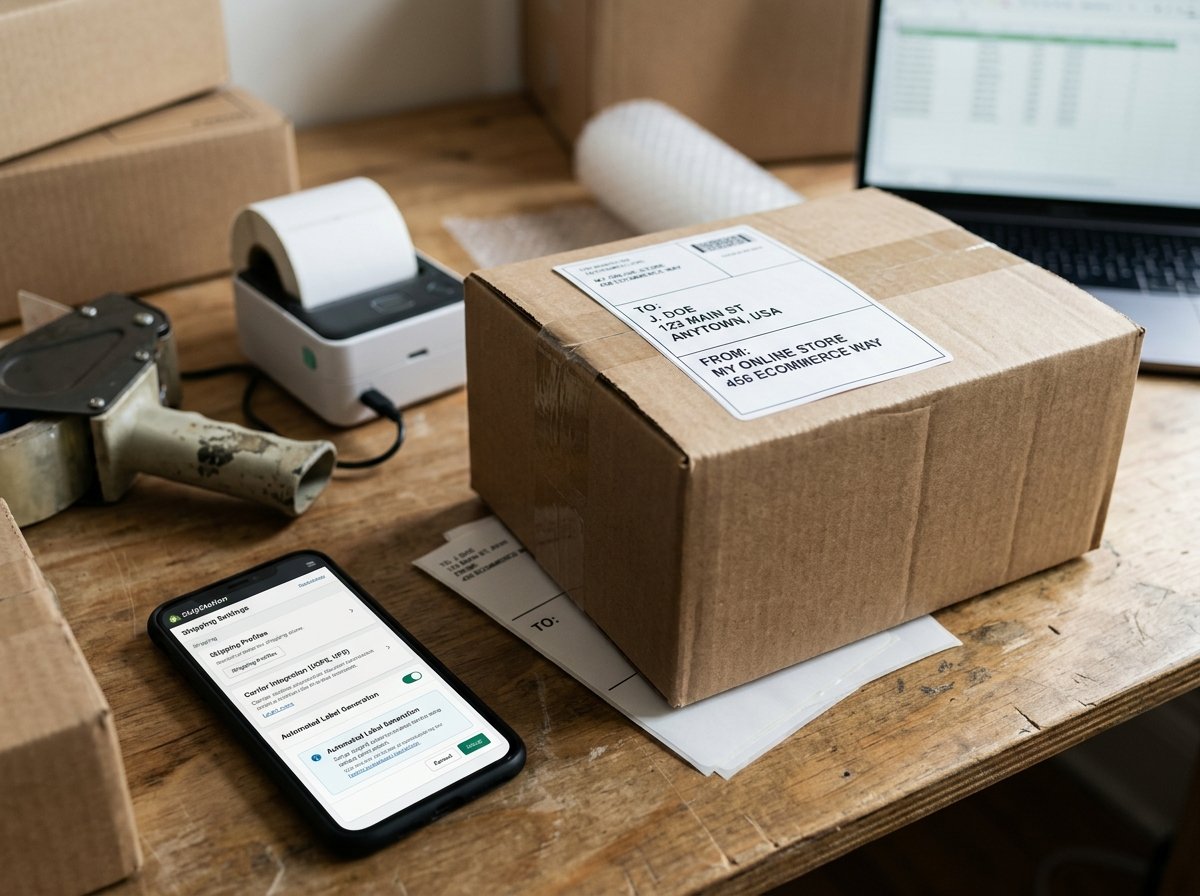
Imagine printing 50 shipping labels one by one, copy-pasting addresses, checking rates on three different courier websites, and somehow still sending the wrong box to the wrong person. That was Tuesday for a small Etsy seller I know — and she almost quit her store because of it, not the sales.
Automated shipping fixes exactly this. It connects your store, your couriers, and your labels into one flow that runs mostly on its own. An order comes in, the system picks the right carrier, prints the label, notifies the customer, and logs the tracking — often before you’ve even had your morning chai.
If you’re still managing shipping manually in 2026, you’re not just losing time. You’re leaving money on the table through missed rate discounts, human errors, and delayed fulfillment. This guide walks you through how to actually set it up — from picking a shipping platform to handling edge cases like returns and multi-warehouse orders.
What “Automated Shipping” Actually Means (And What It Doesn’t)
Before you start connecting apps and APIs, it’s worth being clear on what automation actually does here.
Automated shipping means your system can — without you manually touching anything — generate shipping labels, assign orders to the right carrier based on rules you set, send tracking emails to customers, and update your inventory after dispatch.
What it doesn’t mean is that boxes pack themselves. You still need someone physically picking, packing, and handing off parcels. The automation handles everything that happens on the screen — paperwork, communication, and carrier selection.
Think of it like this: automation is your very efficient office assistant who never makes typos, never forgets to email the customer, and always books the cheapest flight (carrier) for the route. You still drive to the airport (warehouse), but you’re not doing the booking chaos anymore.
Step 1 — Choose a Shipping Platform That Fits Your Store
This is where most people get stuck. There are dozens of tools, and the choice depends on where you sell, how many orders you ship, and which couriers you use.
The Big Players Worth Knowing
ShipStation is one of the most popular choices for multi-channel sellers. It connects with Shopify, WooCommerce, Amazon, Etsy, eBay, and more. You can set automation rules like “if order weight is under 500g, assign to Royal Mail; if over 2kg, assign to DHL.” It also has built-in rate comparison so you’re not overpaying.
Shippo works well for smaller stores and newer sellers. It’s pay-per-label, so there’s no monthly fee eating into your margins when volume is low. Good starting point.
EasyPost is more developer-friendly — better if your store is custom-built or you have someone technical on your team. It’s an API-first tool, which means more control but more setup.
Pirateship is surprisingly good for US-based sellers. It gives you Commercial Plus pricing on USPS without needing to negotiate directly, which can save 15–20% on domestic labels.
For UK-based stores, tools like Despatch Cloud or Zenstores integrate well with Royal Mail, DPD, and Evri. If you’re selling internationally, platforms like Easyship let you compare rates across 250+ couriers in one place — which matters a lot once you start shipping cross-border.
Pro Tip: Don’t just pick the tool with the most features. Pick the one that connects to your store platform and your preferred courier on day one. You can always upgrade later.
Step 2 — Connect Your Store and Your Couriers
Once you’ve chosen a shipping platform, you need two connections: your store (so orders flow in automatically) and your couriers (so labels get generated at their rates).
Connecting Your Store
Most platforms like ShipStation or Easyship have one-click integrations with Shopify, WooCommerce, BigCommerce, and Etsy. You go to the integrations section, authorize your store, and orders start syncing — usually within minutes.
If you sell on multiple channels (your own site plus eBay plus Etsy), connect all of them. The whole point is that every order, from every channel, lands in one dashboard. That’s where the time saving really happens. If you’re just starting out on eBay, understanding the full international shipping picture first helps — this guide on how to start selling on eBay and ship internationally covers the basics well.
Adding Your Courier Accounts
You have two options here. Either use the platform’s pre-negotiated rates (ShipStation, Shippo, and Easyship all have discounted rates built in), or connect your own courier accounts if you’ve negotiated better rates based on your volume.
For new sellers, platform rates are almost always cheaper than what you’d get directly from a courier. For established stores shipping 500+ orders a month, it’s worth calling your courier rep and negotiating a direct contract, then plugging those credentials into your shipping platform.
Step 3 — Set Up Your Automation Rules
This is the actual “automation” part — and it’s where you get your time back.
Automation rules are basically “if this, then that” logic applied to shipping. You define the conditions, and the system assigns carriers, service levels, and packaging without you making that call every single time.
Common Rules That Save the Most Time
Weight and size-based rules are the simplest to start with. For example: orders under 2kg go with your economy service, anything over 2kg goes with your standard tracked service. You set it once, and every order gets sorted automatically.
Destination-based rules matter a lot for international sellers. Domestic orders might go with one carrier, EU orders with another, and rest-of-world with a third. Understanding the actual cost difference between standard and expedited shipping helps you build smarter rules here — because not every customer needs express, and charging everyone the same rate kills your margins.
Order value rules help with insurance. You can set a rule that says any order over £150 automatically gets shipping insurance added. No manual checking required.
Product-type rules are useful if you sell fragile or high-value items alongside regular products. You can flag certain SKUs so they always get extra handling or a specific carrier known for careful delivery.
Warning: Don’t set and forget completely. Review your automation rules every quarter. Carrier rates change, your product mix changes, and what made sense six months ago might be costing you now.
Step 4 — Automate Label Generation and Printing
Once rules are set, label generation should be nearly instant. An order comes in, your rules apply, a label gets generated — sometimes automatically, sometimes with one click from you to confirm.
For high-volume stores, batch printing is what you want. You go in once in the morning, select all overnight orders, hit print, and 50 labels come out at once. No individual processing.
You’ll want a thermal label printer if you’re doing any real volume. Brother QL series or Dymo 4XL are the most common. Laser printing on paper works too, but thermal is faster and ink-free. Labels either go on boxes directly or into plastic label pouches for polybags.
Most platforms also support automated packing slips — so a packing slip prints with every label, showing the customer’s order details. Saves you from making a separate document.
Step 5 — Set Up Automated Customer Notifications
Customers ask “where’s my order?” more than almost anything else. Automated tracking notifications cut those support tickets dramatically.
Your shipping platform should send a shipment confirmation email the moment a label is created, with a tracking number and link. Most platforms do this by default, but double-check that the email comes from your store’s domain or brand name — not from ShipStation directly, which looks unprofessional.
Some platforms let you customize these emails with your logo, a personal message, and even a discount code for the next order. That tracking email is one of the most-opened emails your customers will ever receive (open rates can hit 60–80%), so make it count.
For customers who want to track in real-time, platforms like AfterShip or Parcel Panel create a branded tracking page on your website. Customer types in their order number, sees exactly where their parcel is. Cuts “where’s my package?” emails by a significant margin.
Step 6 — Don’t Skip Return Automation
Returns are the part of shipping automation that most guides skip entirely. That’s a mistake.
A smooth returns process is a selling advantage. Studies consistently show that easy returns increase purchase confidence — customers are more likely to buy if they know returns won’t be a nightmare.
With automated returns, you set up a returns portal (tools like Loop Returns for Shopify, or ReturnGo for multi-platform) where customers can self-serve. They select their item, choose a reason, and either get a pre-paid return label emailed to them or drop the parcel at a local collection point.
On your end, the return is logged automatically, inventory is updated when the item arrives back, and the refund or exchange gets triggered based on rules you’ve already set. No manual email chains, no chasing customers for photos of the wrong item. If you want to build a proper returns process from scratch, this guide on handling returns for online businesses goes deeper into the policy side of things.
The Costs You Should Actually Expect
Automated shipping isn’t free, but it pays for itself faster than most people expect.
Shipping platform costs vary. Shippo charges per label (around $0.05–$0.10 per label on the base plan). ShipStation starts at about $9.99/month for low volume, going up to $99.99/month for high volume with all features. Easyship has a free tier for under 50 shipments a month, which is a decent place to start.
The real cost question isn’t the tool — it’s the time math. If you’re spending 2 hours a day manually processing shipping and your time is worth $25/hour, that’s $50/day, $1,000/month. A $50/month shipping platform that cuts that to 20 minutes a day pays back 20x.
The other savings come from rate shopping. When your platform automatically picks the cheapest qualifying carrier for each order, you stop overpaying out of habit. Knowing how shipping rates are actually calculated — including dimensional weight, fuel surcharges, and zone pricing — helps you set smarter rules that genuinely reduce your per-order cost.
Quick Fact: ShipStation customers report saving an average of 3+ hours per week on shipping tasks after full setup. For a solo operator, that’s meaningful.
When to Think About Multi-Carrier vs. Single-Carrier Setup
If you’re just starting out, one carrier is fine. Pick the one that covers your most common routes well, set it up, and move on.
But if you’re shipping more than 200–300 orders a month, a multi-carrier setup starts making real financial sense. Different carriers win on different routes and package sizes. For example, for lightweight domestic parcels, Royal Mail or Evri might beat DPD on price. For heavier international boxes, DHL or FedEx might beat both. If you’re choosing between major carriers for international shipments, a detailed DHL vs FedEx comparison is worth reading before you commit to one.
Your shipping platform handles this automatically once rules are in place — you don’t need to check rates manually. It compares in real time and picks based on your priorities (cost, speed, or a mix).
For stores shipping high-value or fragile goods internationally — things like electronics, jewellery, or artwork — carrier selection matters even more. Some carriers handle these categories better than others, and understanding economy vs express international shipping differences can help you set the right service level rules for each product type without overspending on express when it’s not needed.
Common Problems People Hit During Setup (And How to Avoid Them)
Weight data missing from product listings. Your automation rules based on weight won’t work if products in your store don’t have weight entered. Go through your catalogue and make sure every SKU has accurate weight and dimensions. This is boring but essential — it’s also what enables dimensional weight calculation to work correctly for carriers that use it.
Carrier account credentials timing out. Some couriers require you to refresh your API keys periodically. Set a calendar reminder every 6 months to check that all carrier connections are still active and authorized.
Rules conflicting with each other. If you have overlapping conditions in your automation rules, the system may assign the wrong carrier or none at all. Test every rule combination with a dummy order before going live.
Customer notification emails going to spam. Make sure your sending domain is properly authenticated (SPF, DKIM records set up). Your IT person or email provider can help with this — it’s a one-time fix that makes a big difference in email deliverability.
FAQ
Q: Do I need a developer to set up automated shipping for my Shopify or WooCommerce store?
A: No, not for most platforms. ShipStation, Shippo, and Easyship all have no-code integrations that connect to Shopify and WooCommerce in a few clicks. You configure rules through a visual dashboard. If your store is custom-built or headless, you might need some API work — but for standard store setups, you can do it yourself in an afternoon.
Q: Can I automate shipping if I use multiple sales channels like Etsy, Amazon, and my own website?
A: Yes, and this is actually one of the biggest benefits. Platforms like ShipStation, Linnworks, and Easyship are built specifically for multi-channel sellers. Every order from every channel flows into one dashboard, gets processed under the same rules, and gets tracked in one place. For Etsy-specific shipping considerations, this Etsy sellers guide to international shipping is worth a look before you connect your account.
Q: Will automated shipping work for international orders with customs forms?
A: Yes — modern shipping platforms generate customs documentation (CN22, CN23, commercial invoices) automatically based on the product information in your store. You need to make sure your product listings have accurate HS codes, item descriptions, and declared values. The platform handles the paperwork from there. Double-check any country-specific shipping restrictions before shipping internationally, because automation doesn’t override customs rules.
Q: How do I handle shipping for orders with multiple items that need different packaging?
A: Most shipping platforms let you set packaging rules at the SKU level or use box-fitting algorithms that calculate the optimal box size for multi-item orders. You input your available box sizes, and the system recommends the right one based on what’s in the order. It’s not perfect for unusual shapes, but for standard products it works well.
Q: What’s the minimum order volume where automated shipping actually makes sense?
A: There’s no hard number, but most sellers find the setup effort worthwhile at around 20–30 orders per week. Below that, the manual process is manageable and the monthly tool cost might not justify itself. Above 50 orders a week, automation is almost non-negotiable — the error rate and time cost of manual processing becomes genuinely painful.
Getting Started Is Simpler Than It Looks
The first time you look at a shipping platform dashboard, it can feel like a lot. Settings everywhere, carrier options you don’t recognize, rule logic that feels technical. That’s normal.
But once you’ve connected your store, added one or two carriers, and set three basic rules — by weight, by destination, by order value — you’ve covered 80% of your orders automatically. The rest you can refine over time.
Start with a free trial on Shippo or the free tier on Easyship. Process your next 20 orders through it. See where the friction is. Add a rule. Test it. Then add another.
Shipping automation isn’t something you build once and it’s done — it’s something you tune over time. But even a rough version of automation is better than doing it all manually. Your future self, the one not copy-pasting addresses at 11pm, will appreciate it.